Cart
0
You may also like


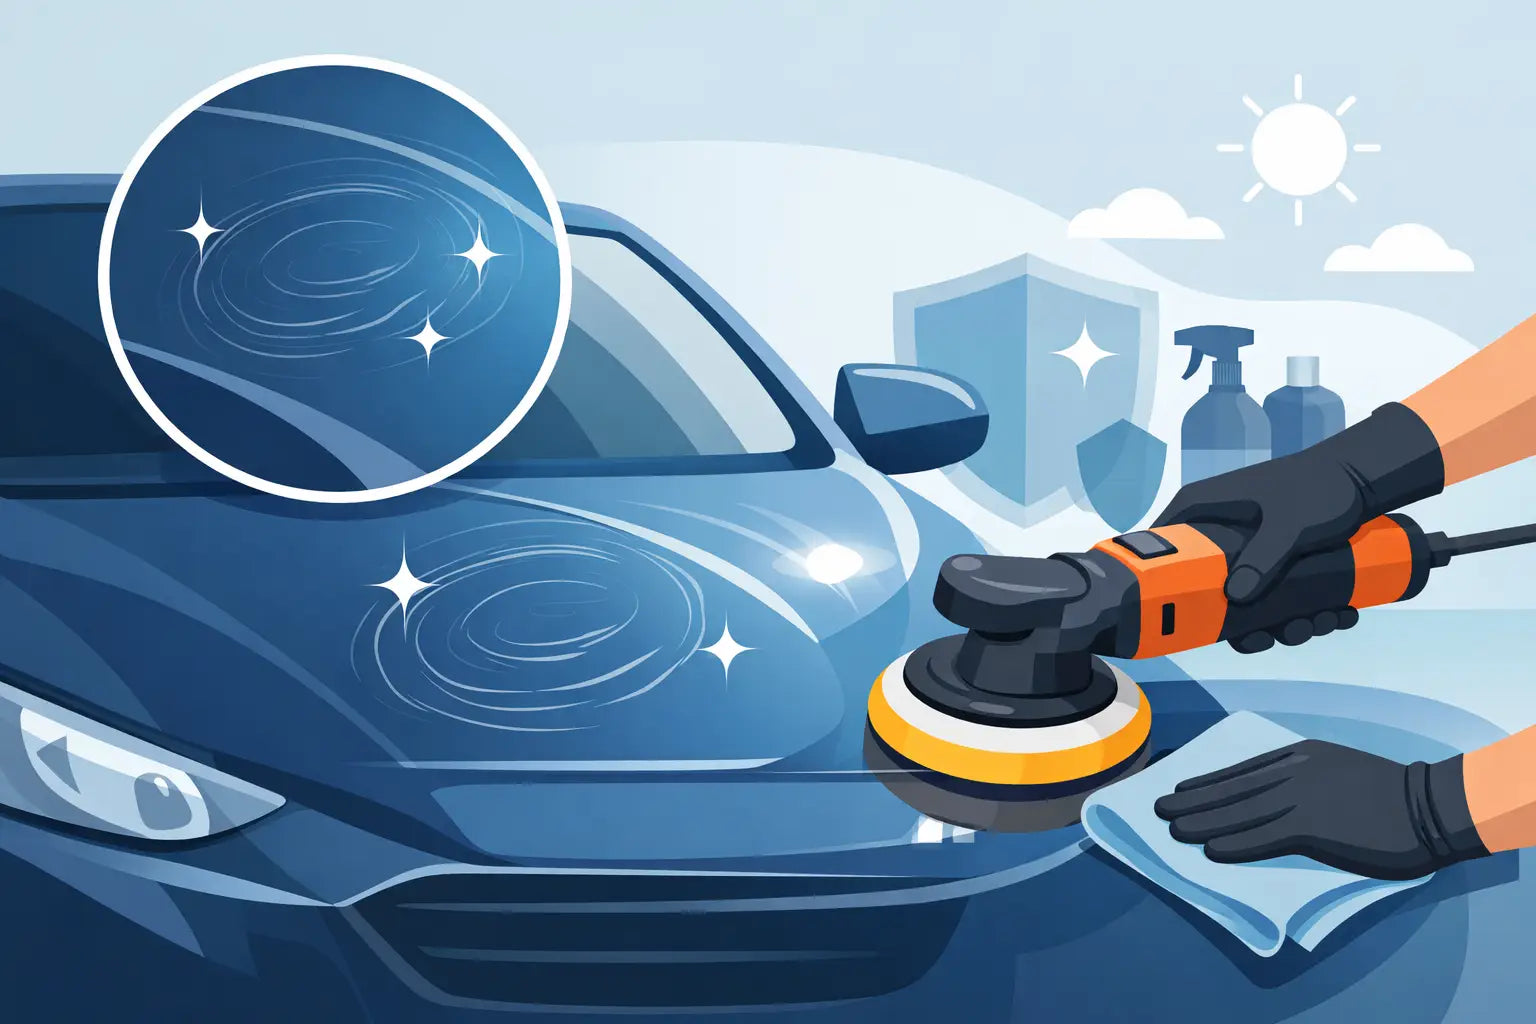
Swirl marks usually show up right after you thought the car looked spot on. Sun hits the paint, and there they are - fine circular scratches across the bonnet, doors and boot lid. If you want to know how to stop swirl marks, the answer is simple: stop grinding dirt into the paint every time you wash, dry or wipe the car.
That sounds obvious, but this is where most people get it wrong. Swirl marks are not usually caused by one big mistake. They build up through rushed maintenance, cheap wash tools, dirty cloths, poor technique and contact with paint that is still carrying grit. Less talk. More gloss. If you want a cleaner finish, you need a safer process.
Swirl marks are tiny scratches in the clear coat. They are often called wash marring because that is exactly what they are. Every time dirt gets dragged across the surface under a mitt, sponge, towel or applicator, it leaves light damage behind. On black, navy, grey and other darker colours, they stand out badly. On lighter paint, they are still there, just harder to spot.
The biggest cause is contact washing a car that has not been properly pre-cleaned. Road film, grit, brake dust and general muck sit on the surface. Then a sponge or mitt moves that contamination around like sandpaper. Automatic car washes make it worse, especially the brush type. Those brushes pick up dirt from every vehicle before yours, then slap it straight onto your paint.
Drying can be just as bad. If the panel is not fully clean, or your drying towel is cheap and rough, you are rubbing contamination into the lacquer. Even quick detailing sprays can cause marring if they are used to wipe down a dusty car instead of a genuinely clean one.
If you are serious about how to stop swirl marks, most of the battle is won before the wash mitt even touches the car. The goal is to remove as much grime as possible with as little contact as possible.
A good pre-wash is not an extra step for fussy people. It is your first line of defence. Snow foam and citrus pre-wash products help loosen traffic film, grit and oily dirt so more contamination can be rinsed away before hand washing begins.
That matters because every bit of dirt removed now is one less bit of dirt getting dragged over the paint later. Let the product dwell for the recommended time, but do not let it dry on the surface. Then rinse thoroughly, working from top to bottom.
If the car is heavily soiled, especially around the lower doors, rear bumper and sills, spend more time here. Rushing the pre-wash to save five minutes usually costs you in paint damage.
The two-bucket wash method still works because it is simple and effective. One bucket holds your shampoo solution. The other is for rinsing the mitt. Grit guards help keep heavier dirt at the bottom instead of back in the mitt.
The mistake people make is going through the motions without changing behaviour. If your rinse water is filthy, refresh it. If the mitt has picked up visible grit, clean it out properly before it goes near the paint again. Technique matters as much as equipment.
A flat household sponge is one of the fastest ways to mark paint. It traps dirt at the surface and pushes it straight against the panel. A quality microfibre or lambswool-style wash mitt is far safer because it can pull contamination away from the paint while you wash.
Even then, no mitt is magic. If it hits a gritty lower panel, do not take it straight to the roof. Work from the cleanest areas downwards. Upper panels first, dirtier areas last.
People call them swirl marks, but you do not need to wash in circles to create them. Still, circular motions make the finish look worse because the marks catch light from different angles. Washing in straight passes is safer and easier to control.
Use light pressure. Let the shampoo do the lubricating. If a mark will not shift, do not scrub harder. Re-soak the area, wash again, or treat it separately. Scrubbing is where plenty of damage starts.
A safe wash can still end badly with poor drying. This is one of the most overlooked causes of fresh marring.
A proper plush microfibre drying towel makes a big difference. It should be soft, absorbent and dedicated to paintwork only. If it has been dropped on the ground, it is out. If it feels stiff from bad washing, retire it from paint duty.
Blotting or lightly dragging the towel across well-cleaned, wet panels is far safer than hard rubbing. Some detailers prefer a drying aid for extra lubrication, and that can help, especially on softer paint. Just do not use drying aids as a shortcut for bad washing.
It sounds ridiculous, but plenty of people rinse the car, notice a few missed spots, then wipe anyway. That is an easy route to swirl marks. If contamination remains, clean it first. Drying should remove water, not correct poor prep.
The same problems show up again and again. Washing in direct sun causes products to dry too quickly and encourages rushed wiping. Using one bucket turns your shampoo into grit soup. Reusing old cloths for paint, wheels and interiors spreads contamination everywhere.
Quick washes at roadside hand wash sites are another regular culprit. Even if the car looks shiny from ten feet away, harsh brushes, cheap cloths and fast turnaround are bad news for clear coat. Cheap now often means correction work later.
There is also the issue of over-touching the car between washes. Dusting paint with a dry cloth, leaning on panels, wiping bird mess without enough lubrication, or using petrol station squeegees all add up. Paintwork rewards restraint.
Wax, sealant and ceramic-based protection will not make your car swirl-proof. Anyone claiming that is overselling it. What protection does do is reduce how strongly dirt sticks, improve water behaviour and make maintenance easier.
That means safer washing over time, assuming your process is sound. A protected car usually needs less aggressive contact to get clean, which lowers the risk of marring. Hard waxes and quality finishing products also boost gloss, so the paint looks sharper when it is looked after properly.
If your car already has swirl marks, protection can mask them slightly by improving depth and reflection, but it will not remove them. For that, you are into paint correction.
Sometimes the question is not just how to stop swirl marks. It is how to stop adding more when the paint is already marked. In that case, your first priority is prevention. Fix the wash process before chasing correction.
Light swirls can often be improved with a machine polish and the right pad and polish combination. Some paints are soft and correct easily. Others are harder and need more cut. There is always a trade-off. More aggressive correction removes more defects, but it also removes more clear coat. That is why maintenance matters. It is better to preserve paint than keep correcting preventable damage.
If you are not confident with polishing, there is no shame in leaving heavy correction to a professional. Once the finish is improved, maintain it properly at home. That is where the real long-term win is.
You do not need a studio setup or a six-hour wash every weekend. You need a process that is consistent. Pre-wash first. Rinse thoroughly. Use proper shampoo with a clean mitt and two buckets. Wash top to bottom with light pressure. Dry with a dedicated soft towel. Protect the paint so future washes are easier.
For most UK drivers, especially through winter, frequency matters too. Leaving thick road grime sitting on the car for weeks can make washing riskier because more contamination builds up. Regular safe maintenance is better than occasional heavy scrubbing.
A good bundle of pre-wash, shampoo, drying towel, protection and accessories makes the whole thing easier to stick to. That is why practical kits make sense. They cut confusion and help you keep standards up every wash.
If you want the blunt version, here it is. Stop using bad tools. Stop touching dirty paint. Stop rushing the wash. Swirl marks are mostly a maintenance problem, not a mystery.
Get the process right and the finish stays sharper for longer. Gloss looks deeper. Reflections look cleaner. And when the sun hits the paint, you see the car - not the damage. That is the difference between washing a vehicle and actually caring for it.