Cart
0
You may also like


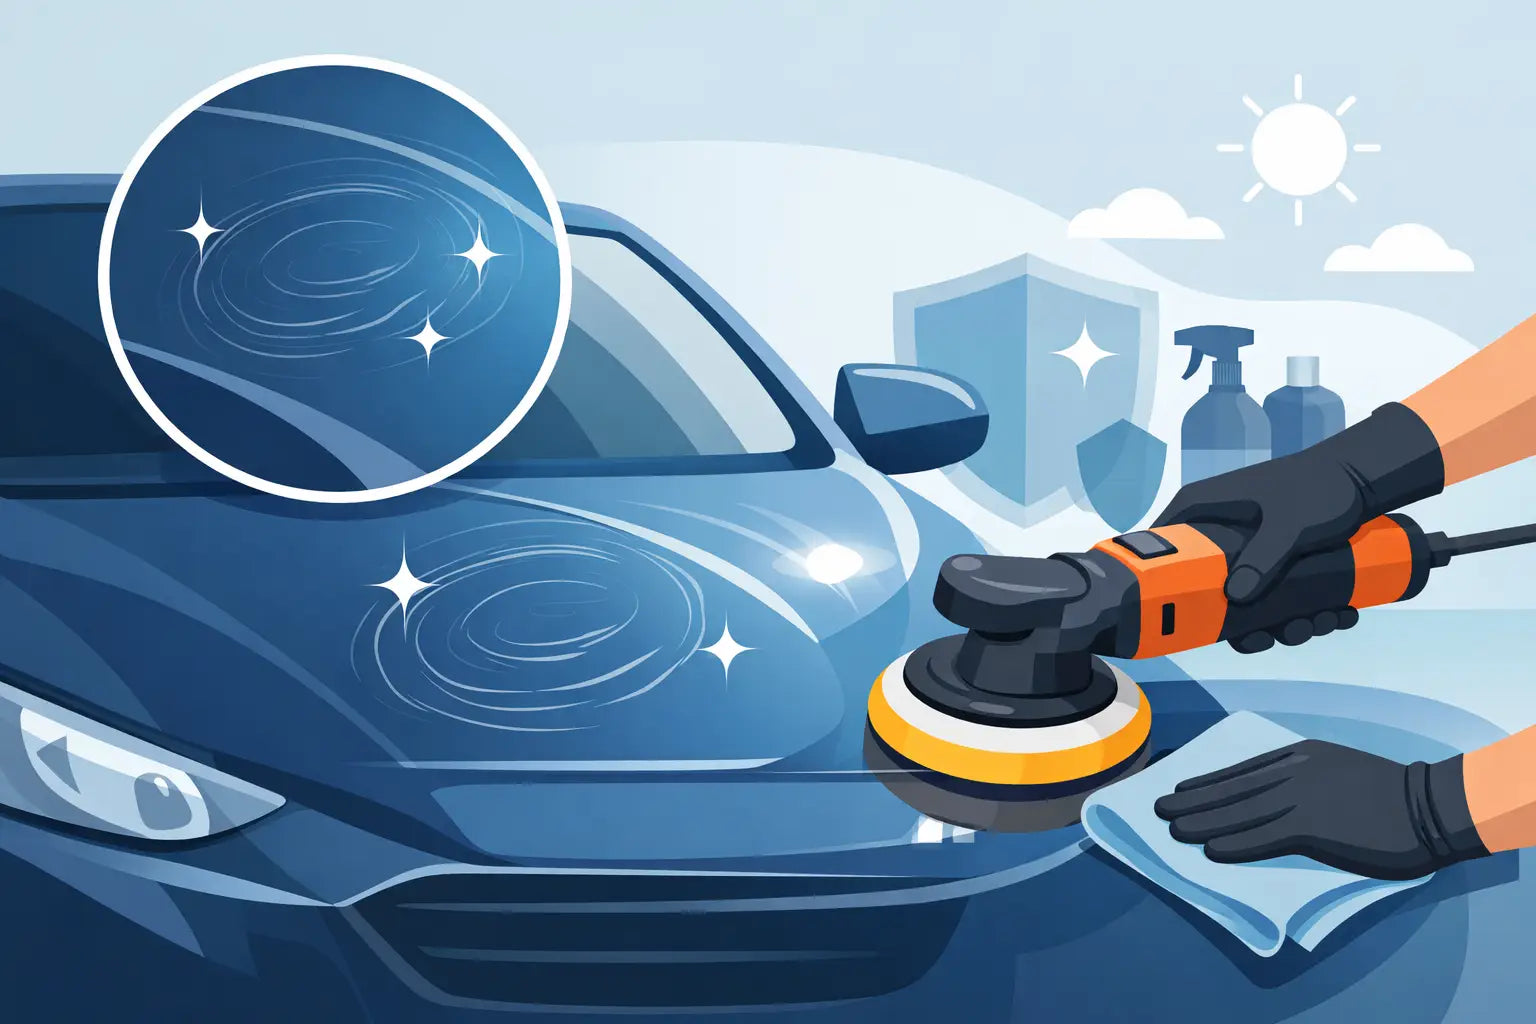
A quick bucket wash can make a car look decent from ten feet away. Proper detailing is what makes it look sharp up close - cleaner paint, darker trim, clearer glass, fresher interior, better gloss. If you want to know how to detail your car at home, the trick is not working harder. It is working in the right order, with the right products, and not rushing the stages that actually make the difference.
The good news is you do not need a unit, a lift or a professional studio. You need a sensible setup, a bit of time, and products that are built to clean properly without battering your paint, plastics or wheels.
Detailing is not just washing the bodywork and giving the dashboard a quick wipe. It means cleaning every major surface properly, then protecting it so the finish lasts. At home, that usually means wheels, pre-wash, contact wash, decontamination if needed, drying, protection, glass, trim and interior.
You do not need to do every stage every weekend. That is where people go wrong. A maintenance detail is different from a full reset. If the car is lightly dirty and protected already, a safe wash and top-up protection may be enough. If it has months of grime, rough paint and stained interior plastics, you will need a fuller session.
If you are serious about learning how to detail your car at home, start with the basics. Work in the shade if you can. Cool panels are easier to clean and less likely to leave product spotting. Have enough microfibres, separate mitts or tools for different areas, and at least two buckets if you are doing a contact wash.
The exact kit can vary, but your essentials are straightforward: a pre-wash or snow foam, wheel cleaner, shampoo, wash mitt, drying towel, interior cleaner, glass cleaner, a wax or sealant, and a few decent cloths. This is one area where cheap products can cost you. Weak cleaners waste time. Harsh ones can mark delicate finishes. Good chemistry makes the job easier and the result better.
Always deal with the wheels and tyres first. They are usually the dirtiest part of the vehicle, and you do not want brake dust and road grime splashing onto freshly cleaned paint later on.
Spray your wheel cleaner onto a cool wheel and let it work. If the wheels are heavily soiled, use a wheel brush and a separate mitt or cloth that will never go near the paint. Get into the barrel if you can, clean around the nuts and spokes, and scrub the tyre sidewalls until the old dressing and grime are gone.
This stage matters more than people think. Clean paint with filthy wheels still looks half-finished. Properly cleaned wheels sharpen the whole car.
This is one of the biggest upgrades you can make to your wash routine. A pre-wash loosens traffic film, grit and general road dirt before you put a mitt on the paint. Less contact means less chance of adding swirls.
If you use snow foam, cover the car evenly and give it a few minutes to dwell. If you use a dedicated pre-wash spray, focus on lower panels, the rear end and anywhere that collects heavy grime. Then rinse thoroughly.
Do not expect pre-wash alone to finish the job. That is not the point. Its job is to remove as much loose contamination as possible so the contact wash is safer and more effective.
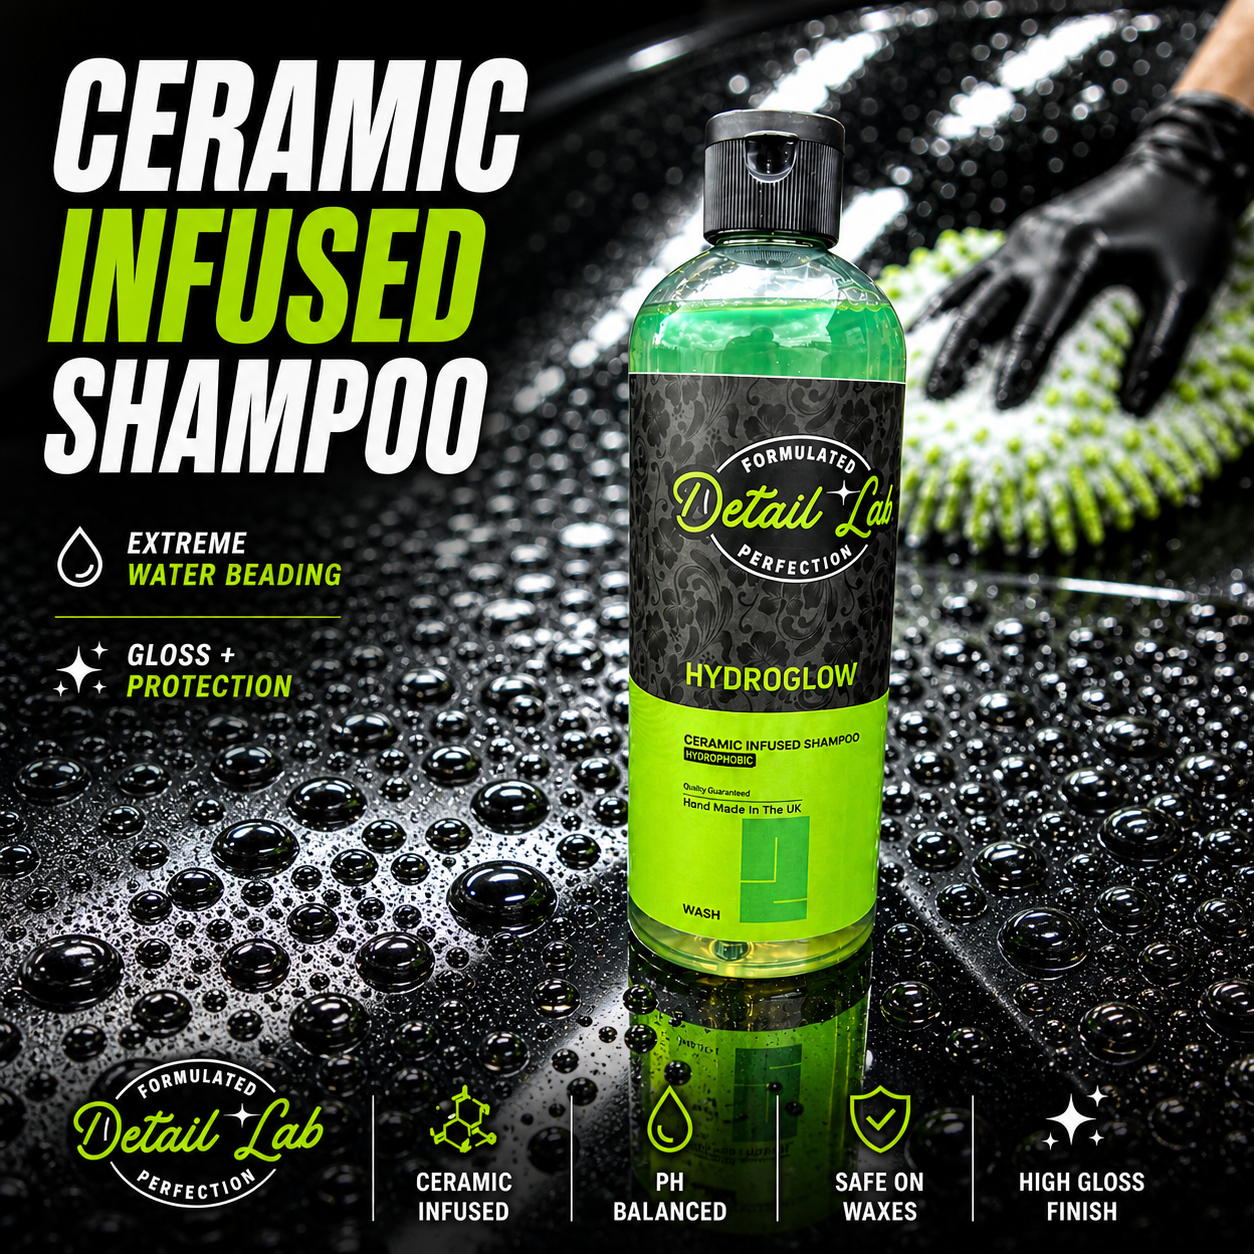
Once the loose dirt is off, move to your contact wash. Use a quality car shampoo, one bucket for shampoo solution and one for rinsing the mitt. Wash from the top down because the lower sections are always dirtier.
Use straight passes rather than scrubbing in circles. Rinse the mitt often. If you drop it, it is out until it is cleaned. That sounds fussy, but this is exactly how paint picks up avoidable marring.
Bad technique can undo the benefit of every good product you use. Good technique makes even a straightforward wash look better.
If the paint still feels rough after washing, you are dealing with bonded contamination - things like fallout, tar and embedded grime that ordinary shampoo will not remove. This is when decontamination comes in.
You do not need to do this every time. On a car that is regularly maintained, it may only be occasional. But if the finish feels gritty, looks dull, or your protection is not bonding properly, it is worth doing.
A fallout remover helps with iron particles. A tar remover targets sticky residue. A clay bar or clay mitt can then lift what remains. The trade-off is simple: clay leaves the surface smoother, but if used badly it can mark soft paint. Plenty of lubrication and a light hand are non-negotiable.
Most people rush this bit, then wonder why the car looks patchy. Drying is not just about removing water. It is about preventing water spots and keeping the finish clean after the wash.
Use a proper drying towel, not an old bath towel or synthetic cloth that drags across the paint. Pat or glide it over the panels rather than grinding it in. If you want to take things up a level, use a quick detailer or drying aid while drying. It can add slickness, reduce the chance of towel drag and leave a sharper gloss.
Pay attention to mirrors, badges, grille areas and panel gaps. That trapped water always appears later.
Clean paint without protection looks good for a moment. Protected paint stays cleaner for longer, beads water better and is easier to wash next time. This is where waxes, sealants and spray protectants earn their keep.
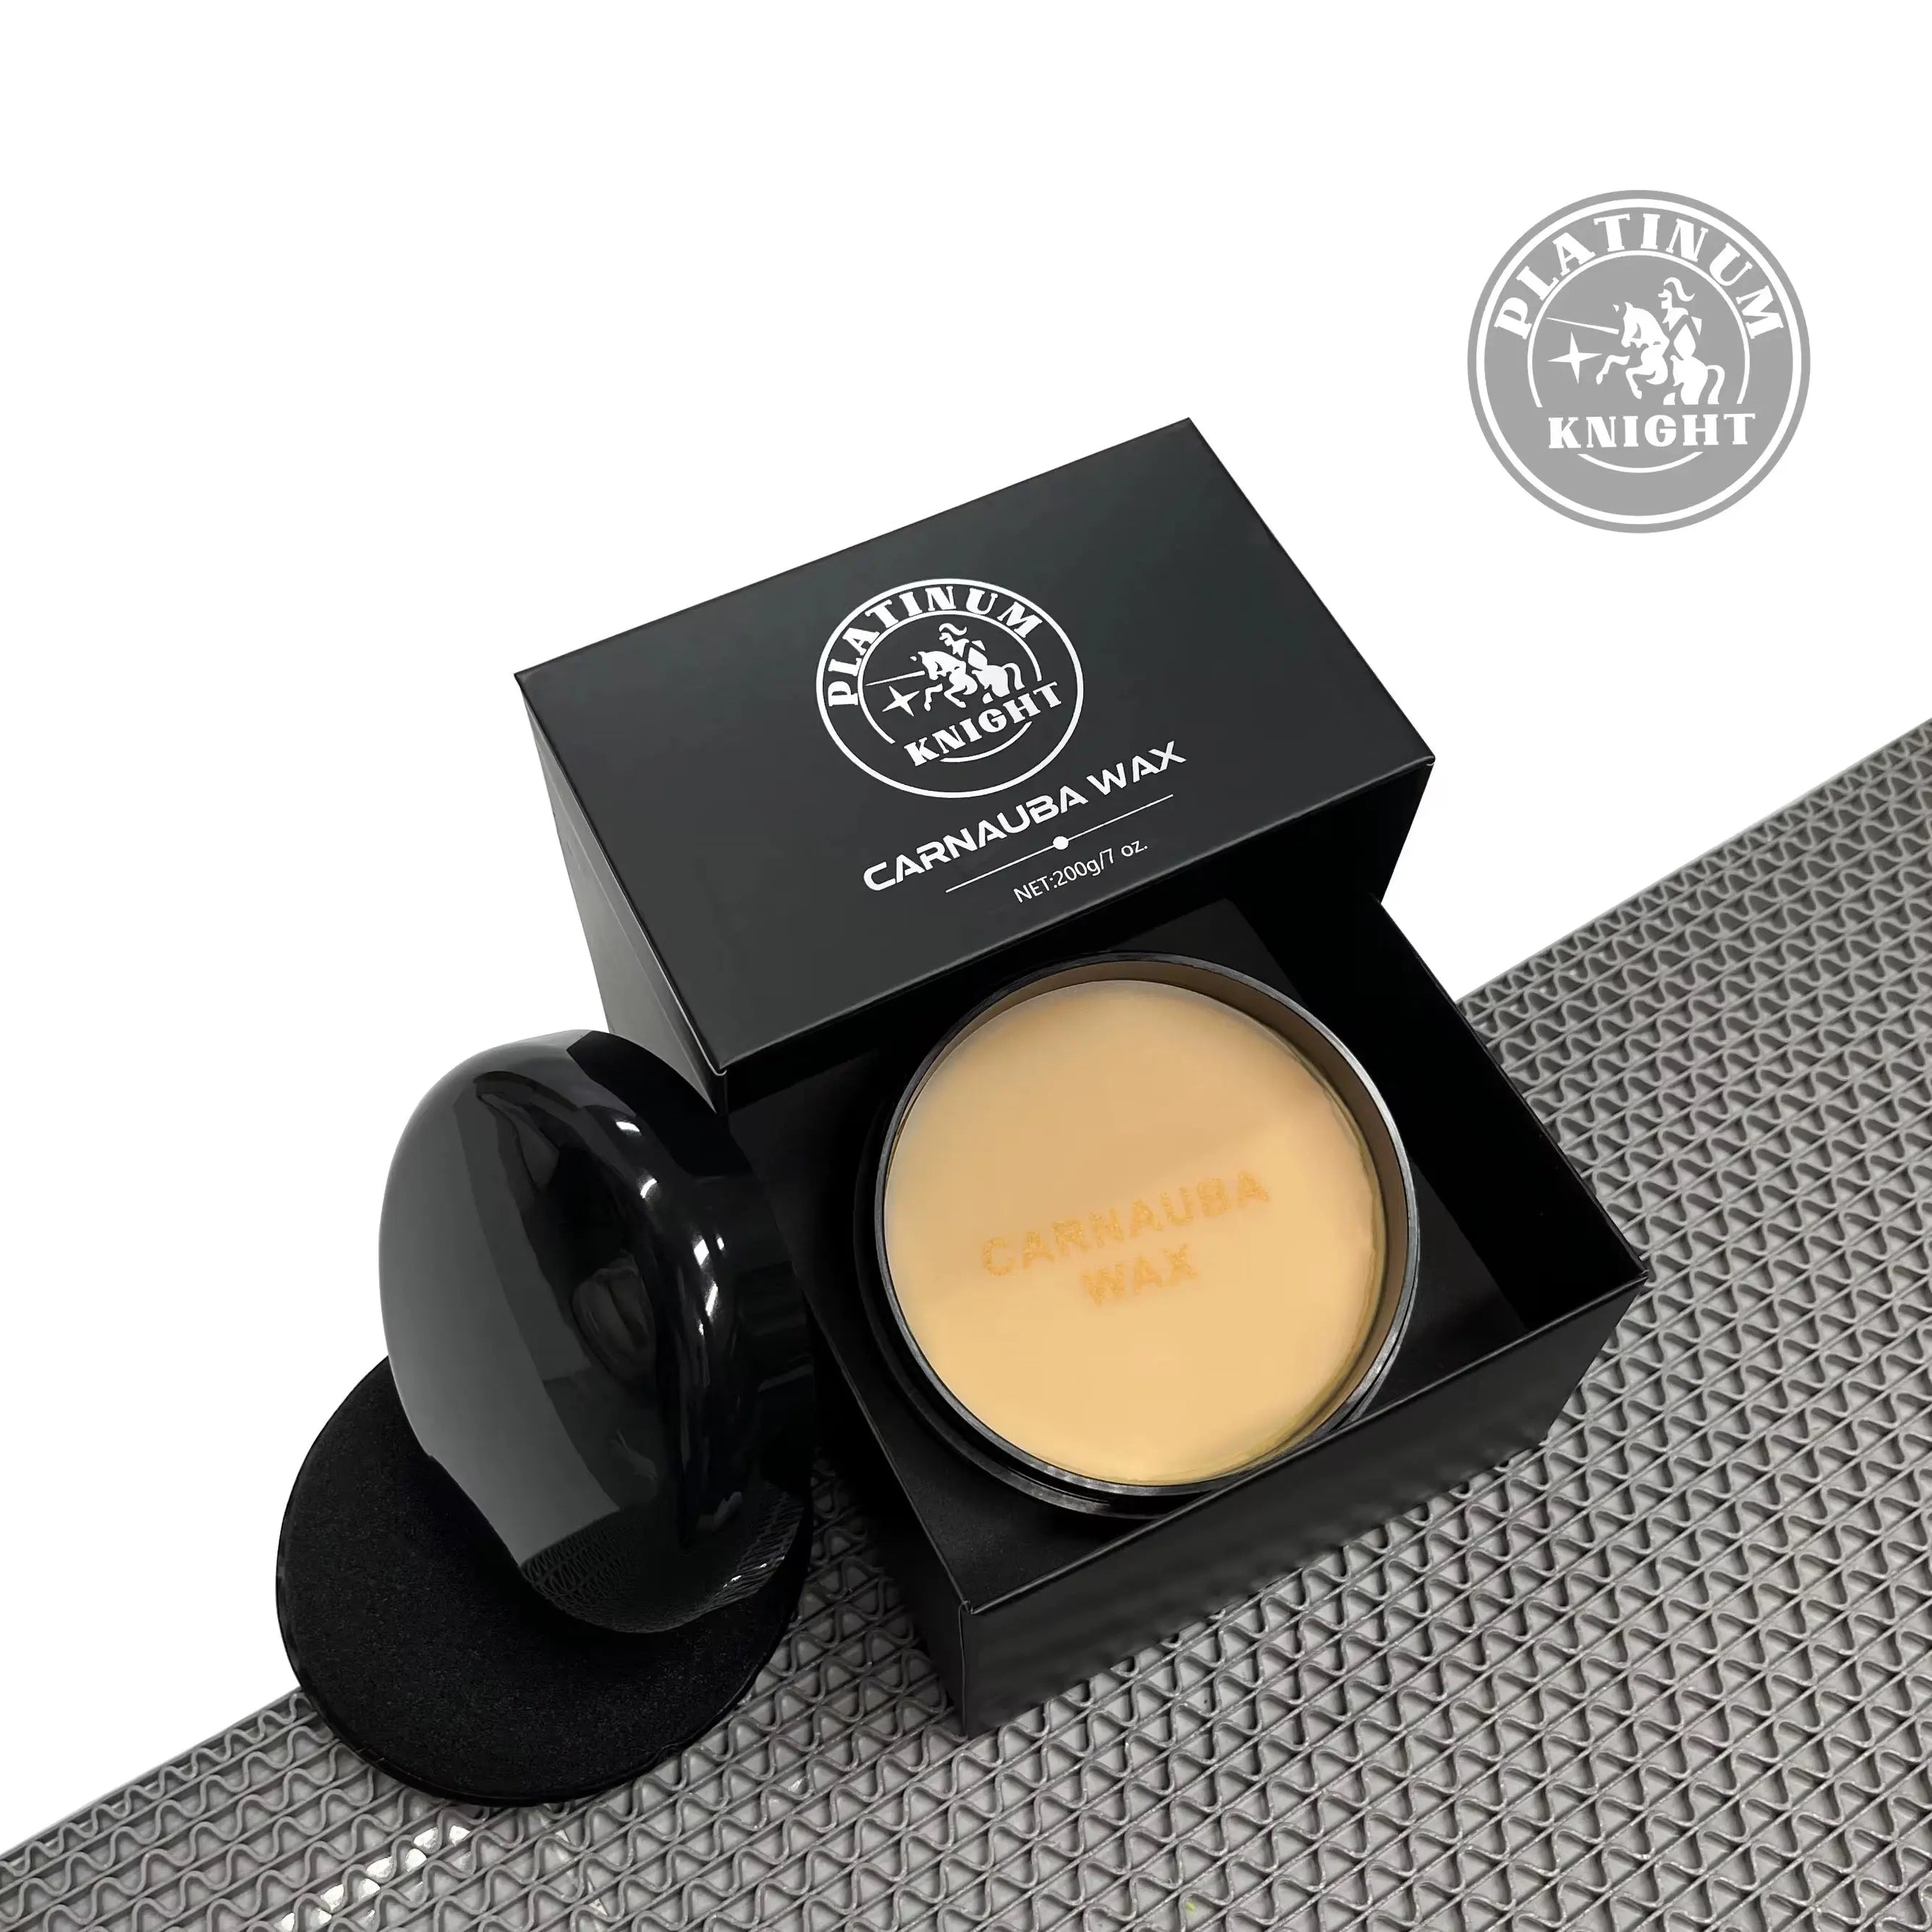
If you want depth and a more traditional finish, a hard wax is a strong choice. If you want speed and convenience, a spray sealant is easier. Neither is automatically better - it depends on how much time you have, how often you wash the car and what finish you prefer.
Apply protection to clean, dry paint and do not overuse it. More product does not mean more performance. Thin, even coverage is usually what gets the best result.
Trim dressings and tyre dressings can finish the exterior properly, but keep them controlled. Over-applied product looks greasy, attracts dust and can sling onto clean paint.
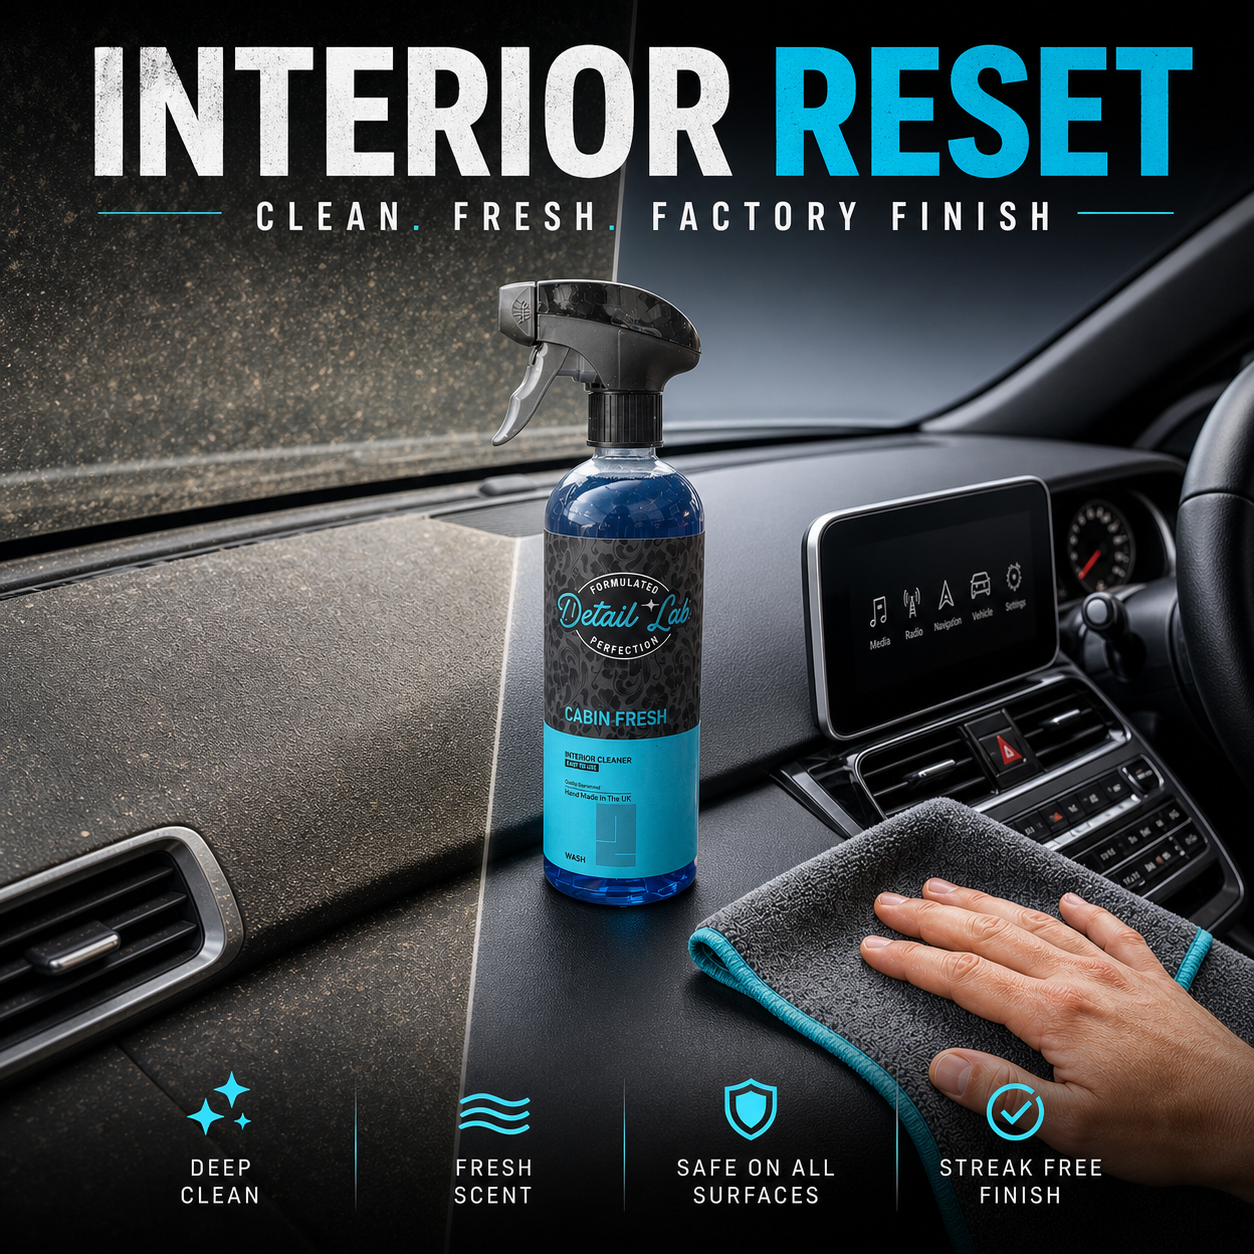
A lot of cars look tidy on the driveway and tired the moment you open the door. Interior detailing does not need to be complicated, but it does need more care than blasting glossy dressing over everything.
Start by clearing rubbish and removing mats. Vacuum thoroughly, including seat edges, under pedals and around the centre console. Use a soft brush attachment where needed so you are not scraping plastics.
For plastics, vinyl and hard surfaces, use a dedicated interior cleaner and a microfibre cloth. If there is built-up grime in textured trim, work the cleaner in with a soft detailing brush. The aim is a clean, factory-looking finish, not an oily shine.
Seats depend on the material. Fabric can need spot cleaning or extraction if heavily stained. Leather needs a gentler approach - clean first, then condition only if the material actually calls for it. Modern coated leather often needs less feeding than people think.
Finish with the glass. Clean interior glass separately from exterior glass because the residue is different. A good glass cleaner and two cloths - one to clean, one to buff - usually beats smearing the same damp cloth around for five minutes.
The biggest mistake is doing everything in the wrong order. If you wash the paint before the wheels, skip pre-wash, or try to protect dirty panels, you are making life harder for yourself.
The second is using household products. Washing-up liquid, kitchen degreasers and random supermarket sprays are not clever shortcuts. They can strip protection, stain trim and leave finishes looking flat.
The third is expecting one product to do every job. Good detailing is staged. Wheel cleaner for wheels, shampoo for the wash, interior cleaner for interior surfaces, protection for protection. Keep it simple, but keep it purpose-built.
For most cars, a safe maintenance wash every week or two keeps things under control. A fuller detail, including decontamination and fresh protection, might be every few months depending on mileage, storage and weather.
A daily-driven car parked outside will need more attention than a weekend toy kept in a garage. Winter grime also changes things. Salt, road film and constant rain can flatten the finish quickly, so protection matters more and wheels need closer attention.
If you want a faster route to solid results, a well-built kit from a brand like Detail Lab cuts out the guesswork. That matters when you want products that work together, not a shelf full of half-right options.
A proper home detail is not about making the car look overdone. It is about getting every surface genuinely clean, protected and looking right. Take your time, use the right order, and the result will speak for itself every time you walk back to the car.