Cart
0
You may also like
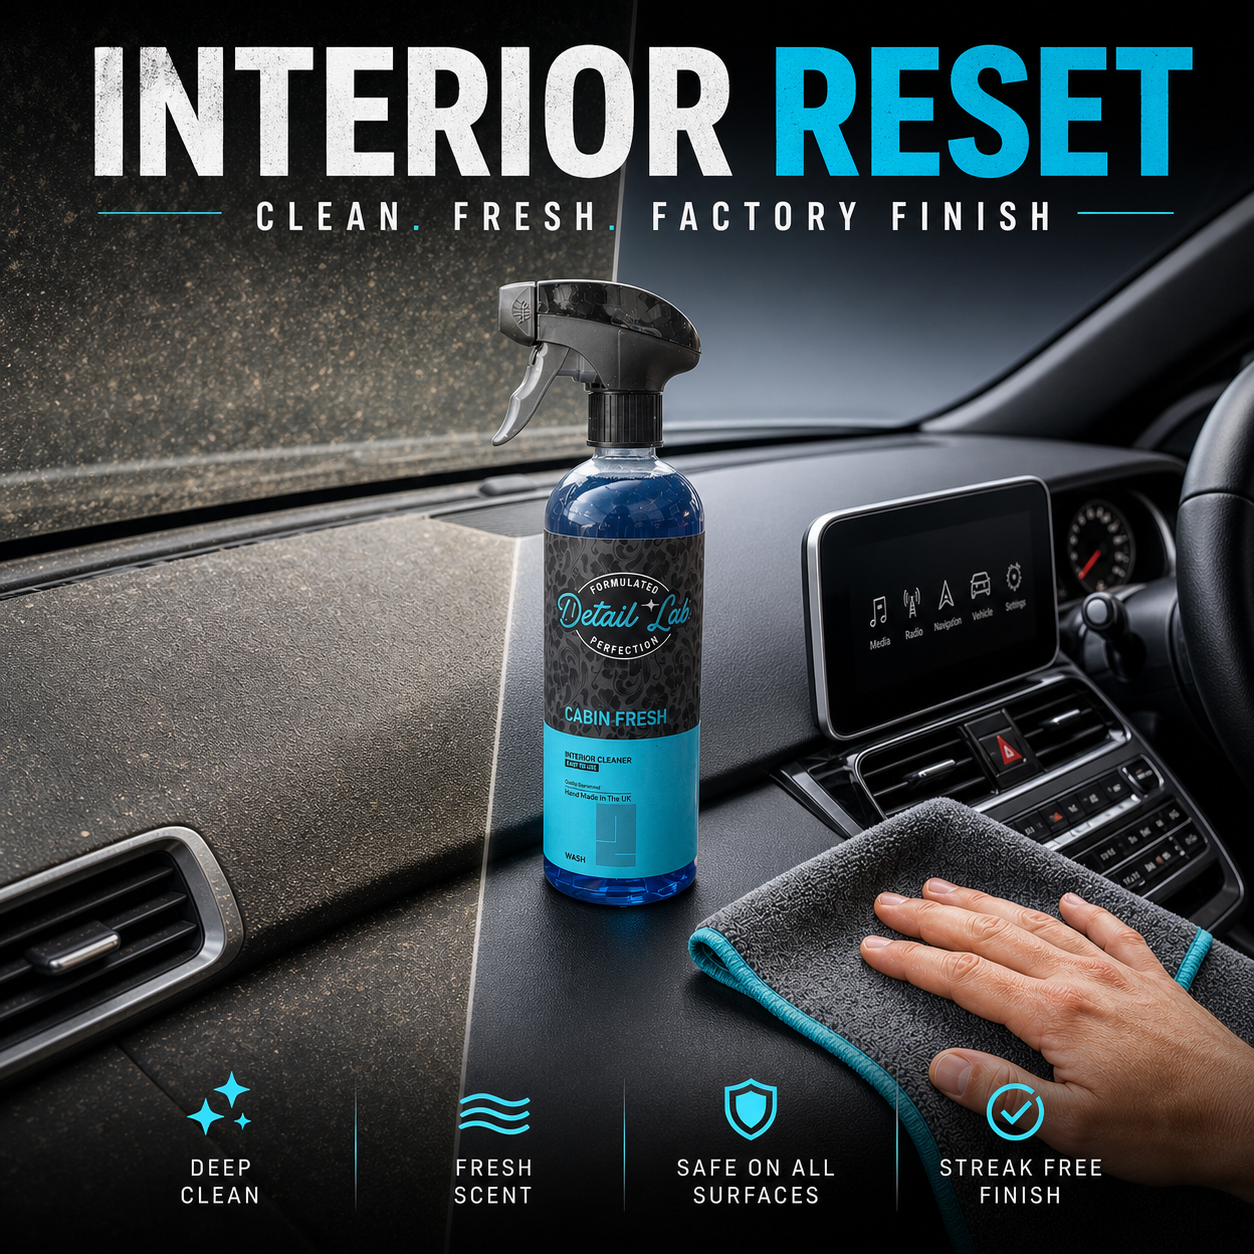


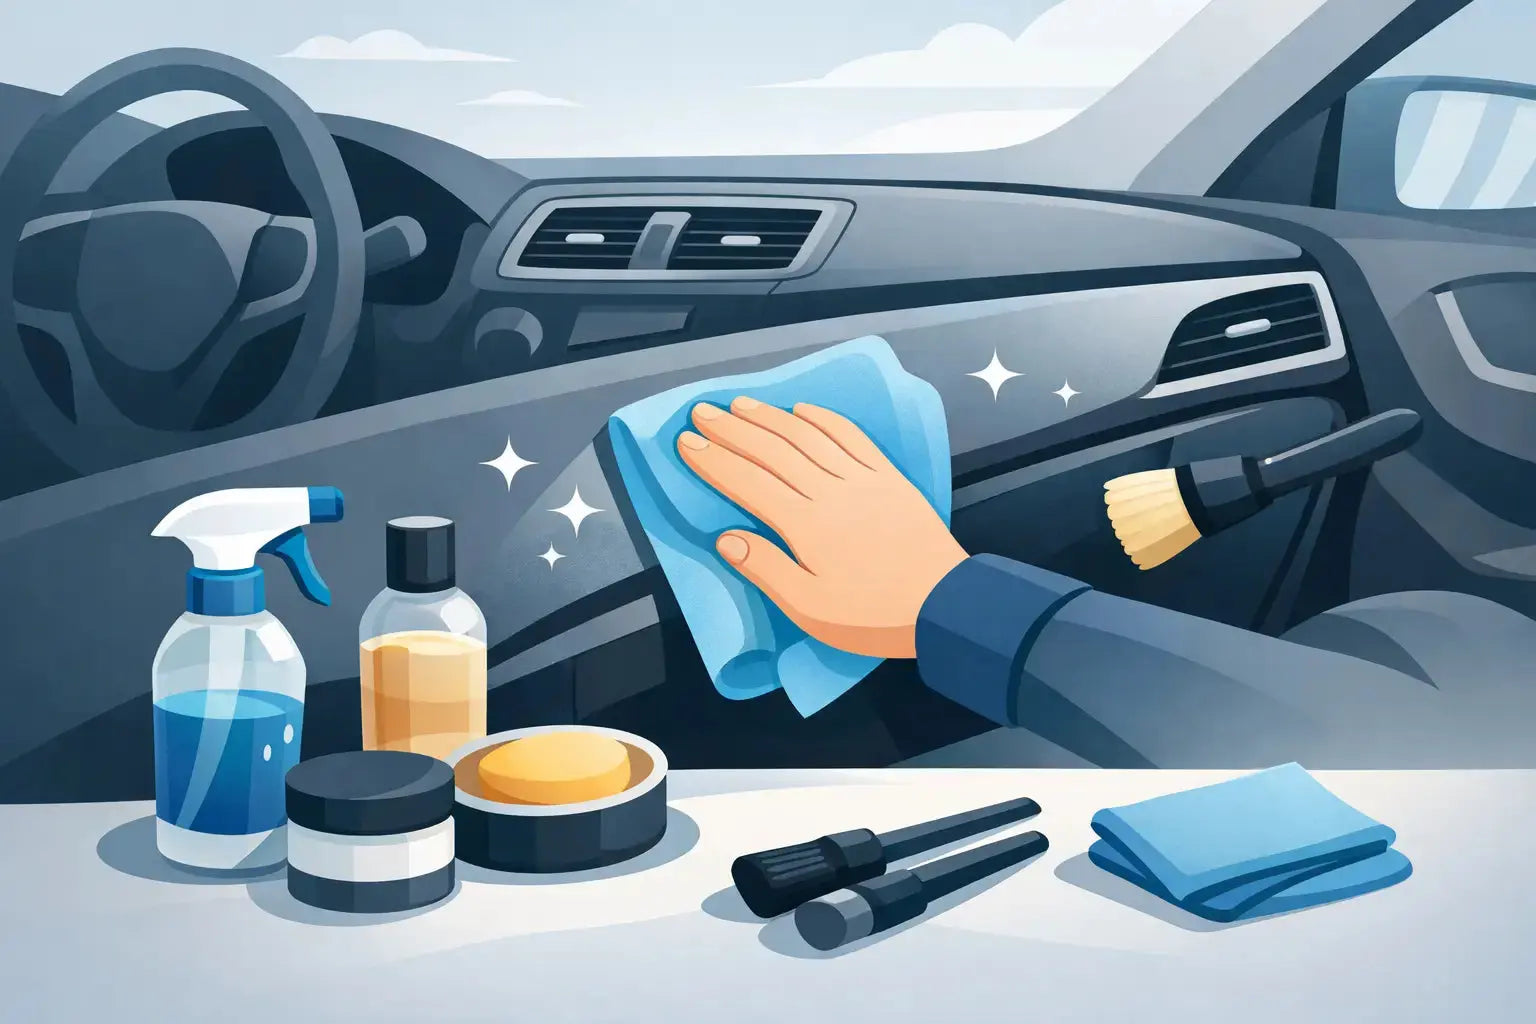
That chalky film on the dash, the grime around switches, the shiny patches on door cards - that is what makes a cabin look tired even when the paintwork is spotless. If you want to know how to clean car interior plastic properly, the goal is simple: remove dirt, skin oils and old product residue without leaving the surface greasy, streaky or fake.
Interior plastic is easy to get wrong. Go too aggressive and you can mark soft-touch trim or leave a patchy finish. Use the wrong dressing and the cabin ends up looking slick, reflective and cheap. Done right, plastic trim looks clean, dry and factory-fresh. That is the standard.
Most interior plastics do not need harsh chemicals. They need the right cleaner, the right cloth and a bit of control. Dust, body oils, food spills and traffic film build up slowly, especially on steering column trim, centre consoles, door pulls and around infotainment screens. That buildup is what dulls the finish.
Start by removing loose dust first. A soft detailing brush or clean microfibre cloth works well here. If you skip this step and go straight in with liquid cleaner, you just move grit around the surface. On textured plastics, that can grind dirt deeper into the grain.
Once the loose dust is gone, apply an interior cleaner to a cloth or brush rather than soaking the trim directly. This matters around buttons, vents, stalks and screen surrounds where excess liquid can creep into gaps. Work one section at a time. Agitate lightly, wipe away the residue, then check the finish in natural light. If it still looks patchy, repeat rather than flooding it.
The best result usually comes from a cleaner that cuts grime without adding gloss enhancers or oily dressings. Clean first. Protect after, if you want to. Mixing those jobs into one product can save time, but it often leaves an uneven finish on older plastics.
You do not need a shelf full of kit, but the basics matter. A quality interior cleaner, two or three clean microfibre cloths, a soft brush and a small detailing brush for tight areas will cover most cabins. If the plastic is heavily textured or badly neglected, a soft scrub pad can help, but only if it is safe for interior trim and used carefully.
A vacuum is worth having as well. Dust and crumbs collect in seams, cup holders and panel edges. Getting that debris out first makes the actual cleaning quicker and cleaner.
If you are dealing with piano black trim, touchscreen surrounds or instrument clusters, treat them differently. These surfaces mark easily. Use a very soft cloth, minimal pressure and avoid aggressive agitation. The aim is to lift dust and fingerprints, not scrub them into fine swirls.
Not all plastic trim behaves the same. Hard, grainy dashboard plastic is forgiving. Soft-touch trim is not. Satin-finish panels can go blotchy if overworked. Gloss black trims show every mistake.
For standard dashboard plastics and door cards, spray cleaner into a microfibre or onto a soft brush, work the surface lightly, then wipe dry with a second cloth. This removes the dirt instead of spreading it. If the cloth comes away dark, that is normal. Fold to a clean side and keep going.
For textured plastics, use a brush to reach into the grain. Circular motions help lift stubborn grime from the low spots. Follow with a dry cloth before the cleaner evaporates on the surface.
For soft-touch plastics, use less product and less pressure. If the trim already feels tacky, worn or marked, assume the coating is delicate. Strong all-purpose cleaners can strip or damage these finishes. A dedicated interior cleaner is the safer play.
For gloss trims and clear instrument plastics, spray the cloth, not the panel. Wipe in straight lines with a fresh, ultra-soft microfibre. If you use a dirty cloth here, you will know about it immediately.
The biggest mistake is using household cleaners. Kitchen sprays, glass sprays with ammonia and heavy degreasers are not made for automotive interior trim. They can stain, dry out surfaces or leave a brittle look that does not belong inside a car.
The second mistake is overapplying product. More liquid does not mean more cleaning power. It usually means more residue in seams and more wiping to level it out.
Then there is the shine problem. Many drivers think glossy plastic looks freshly cleaned. It does not. Most modern interiors look best with a low-sheen, natural finish. Anything too shiny reflects on the windscreen, attracts dust and makes the cabin feel overdone.
Dirty cloths are another issue. If you are wiping interior trim with a cloth that still has old dressing, exterior quick detailer or general grime in it, you are contaminating the surface before you have even started. Fresh cloths matter more than people think.
Some mess needs more than a quick wipe. Spilt coffee, sun cream marks, fizzy drink residue and old adhesive from mounts or air fresheners can cling to plastic and leave a dull patch. The fix is patience, not brute force.
Apply cleaner to a cloth and hold it on the mark for a few seconds to soften the residue. Then agitate gently with a brush or cloth. Repeat as needed. Scraping with fingernails or hard tools is a bad move on interior trim, especially on soft or satin plastics.
If the grime has built up over months around cup holders, handbrake surrounds or door grab handles, expect two or three passes. One round loosens the dirt. The next actually removes it. That is normal on a used daily driver.
Nicotine staining and ingrained oily film are tougher again. They can make pale grey and beige plastics look permanently yellowed. In these cases, a stronger interior-safe cleaner may be needed, but there is always a balance. Stronger chemistry can clean faster, but on older trim it can also expose fading or wear that the grime was hiding.
It depends on the look you want. If your goal is a clean, OEM-style finish, you may not need any dressing at all. A properly cleaned surface often looks better on its own than one loaded with shine.
That said, a light interior protectant can make sense on dash plastics and door trims that see a lot of sunlight. It can help reduce UV fading, make routine wipe-downs easier and restore a richer, more even finish. The key is restraint. Apply sparingly, spread evenly and buff off any excess. If it feels slippery or looks wet, you have used too much.
Avoid dressing steering wheels, pedals, gear knobs or anything you grip while driving. That should be obvious, but it still needs saying.
For most cars, a light clean every two to four weeks keeps the cabin under control. If the car is used daily, carries kids, dogs, work gear or a steady stream of coffee cups, you will need to do it more often. A quick maintenance wipe stops grime building to the point where you need heavy agitation later.
A full interior reset every few months is sensible if you want the cabin to stay sharp. That means vacuuming first, cleaning all plastics properly and then applying protection only where it adds something. Less talk. More results.
If you already wash your car regularly, folding the interior into that routine makes life easier. Ten extra minutes on the cabin saves you from an hour of catch-up later.
The best interiors do not look freshly coated. They look properly clean. That means no greasy dash, no white residue in textured trim and no patchy sheen on door cards. Just a crisp, even finish that suits the car.
If you are serious about how to clean car interior plastic, focus on three things: safe chemistry, clean tools and control. Work lightly, inspect as you go and stop chasing artificial shine. That is how you get a result that looks better than most hand car wash interiors and lasts longer too.
A good interior cleaner and a few proper cloths will do more for your cabin than a cupboard full of supermarket sprays. Detail Lab keeps it simple for a reason - use products that work, use them properly, and the finish speaks for itself.
Clean plastic changes how the whole car feels. The cabin looks newer, the trim feels better to the touch, and every drive starts in a space that actually looks cared for. That is worth doing properly.